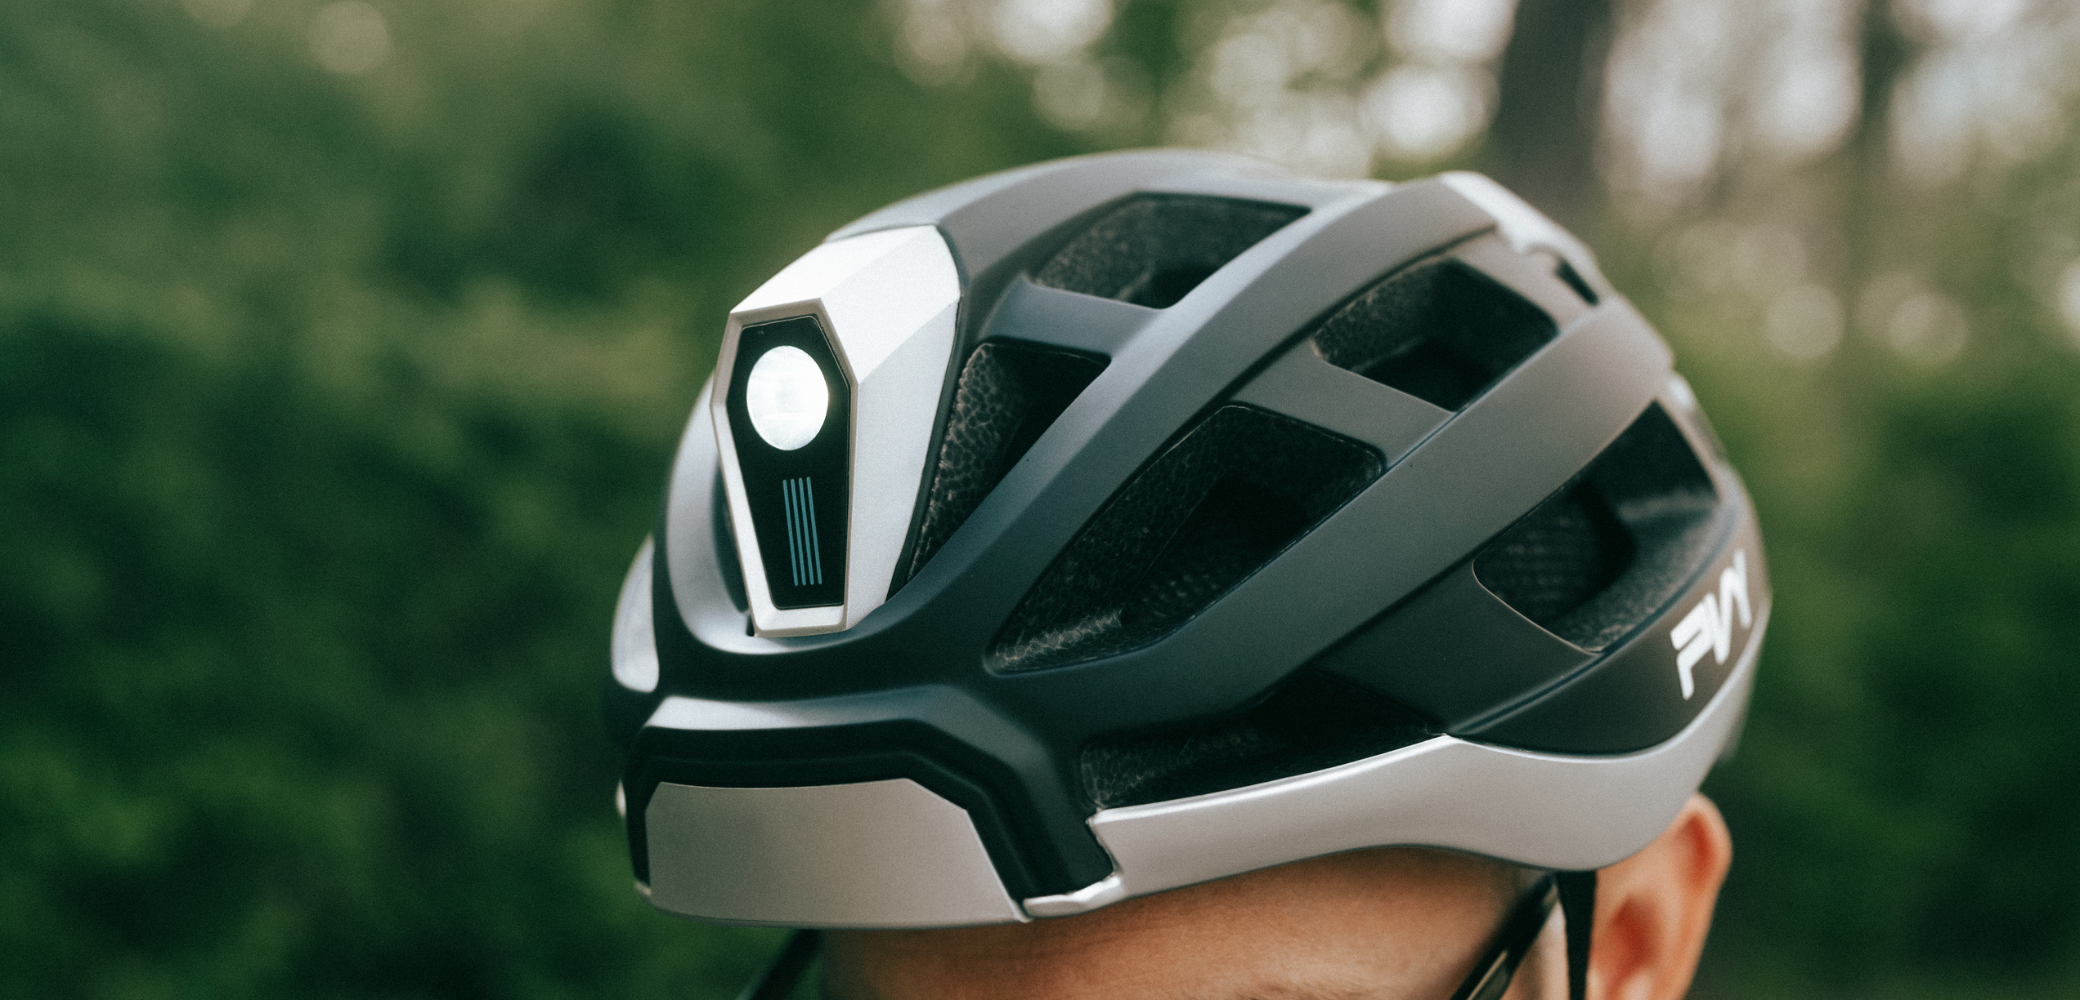
For cyclists, safety conversations almost always begin and end with gear: helmets, lights, reflective vests. And while this equipment is crucial, it represents only half of the safety equation—the passive half. It protects you if something happens.
{"height":15,"color":{"hue":213,"brightness":0.83,"saturation":1,"alpha":0},"hidden":false,"locked":false,"blockName":"Spacer"}
But what about the active half? What do you do in the split-second when a collision or fall is inevitable? The reality is that crashes happen, even to the most cautious riders. When they do, how you fall can be the single greatest factor in determining the severity of your injuries. Learning to fall correctly isn't about accepting defeat; it's about mastering a critical life-saving skill that turns a potential disaster into a manageable incident.
{"height":15,"color":{"hue":213,"brightness":0.83,"saturation":1,"alpha":0},"hidden":false,"locked":false,"blockName":"Spacer copy"}
The Mindset Shift: From Panic to Protocol
{"height":15,"color":{"hue":213,"brightness":0.83,"saturation":1,"alpha":0},"hidden":false,"locked":false,"blockName":"Spacer copy copy"}
The first step is mental. Our natural instinct when falling is to stiffen up, throw out our hands to catch ourselves, and brace for impact. This is the worst possible reaction.
{"height":15,"color":{"hue":213,"brightness":0.83,"saturation":1,"alpha":0},"hidden":false,"locked":false,"blockName":"Spacer copy copy copy"}
Stiffening turns your body into a single, brittle unit, transmitting the full force of impact directly to your bones and joints.
{"height":15,"color":{"hue":213,"brightness":0.83,"saturation":1,"alpha":0},"hidden":false,"locked":false,"blockName":"Spacer copy copy copy copy"}
The Outstretched Arm (or "FOOSH" - Fall Onto an Outstretched Hand) is the leading cause of serious cycling injuries: broken wrists, collarbones, and shoulder separations.
{"height":15,"color":{"hue":213,"brightness":0.83,"saturation":1,"alpha":0},"hidden":false,"locked":false,"blockName":"Spacer copy copy copy copy copy"}
The goal is to replace panic with a procedural mindset: Protect, Roll, Distribute.
{"height":15,"color":{"hue":213,"brightness":0.83,"saturation":1,"alpha":0},"hidden":false,"locked":false,"blockName":"Spacer copy copy copy copy copy copy"}
The Physics of a "Good" Fall: Dissipating Energy
{"height":15,"color":{"hue":213,"brightness":0.83,"saturation":1,"alpha":0},"hidden":false,"locked":false,"blockName":"Spacer copy copy copy copy copy copy copy"}
A safe fall is designed to dissipate the kinetic energy of your moving body over the largest possible area and the longest possible time. Instead of concentrating it in one joint (like your wrist), you spread it out across the most resilient parts of your body—muscle and fat tissue—through a controlled roll.
{"height":15,"color":{"hue":213,"brightness":0.83,"saturation":1,"alpha":0},"hidden":false,"locked":false,"blockName":"Spacer copy copy copy copy copy copy copy copy"}
{"height":15,"color":{"hue":213,"brightness":0.83,"saturation":1,"alpha":0},"hidden":false,"locked":false,"blockName":"Spacer copy copy copy copy copy copy copy copy copy"}
Practical Falling Techniques for Cyclists
{"height":15,"color":{"hue":213,"brightness":0.83,"saturation":1,"alpha":0},"hidden":false,"locked":false,"blockName":"Spacer copy copy copy copy copy copy copy copy copy copy"}
These techniques are adapted from martial arts like judo and parkour. Practice them in a safe, soft environment (like a grass lawn or gym mat) so the motions become muscle memory.
{"height":15,"color":{"hue":213,"brightness":0.83,"saturation":1,"alpha":0},"hidden":false,"locked":false,"blockName":"Spacer copy copy copy copy copy copy copy copy copy copy copy"}
1. The Tuck and Roll (The Fundamental Skill)
{"height":15,"color":{"hue":213,"brightness":0.83,"saturation":1,"alpha":0},"hidden":false,"locked":false,"blockName":"Spacer"}
This is your primary tool for forward falls over the handlebars or when being pitched forward.
{"height":15,"color":{"hue":213,"brightness":0.83,"saturation":1,"alpha":0},"hidden":false,"locked":false,"blockName":"Spacer copy"}
Step 1: Tuck Your Chin. The moment you know you're going over, tuck your chin to your chest. This protects your head and neck, initiating a rolling motion.
{"height":15,"color":{"hue":213,"brightness":0.83,"saturation":1,"alpha":0},"hidden":false,"locked":false,"blockName":"Spacer copy copy"}
Step 2: Let Go of the Bike. Release the handlebars. Don't try to hold on.
{"height":15,"color":{"hue":213,"brightness":0.83,"saturation":1,"alpha":0},"hidden":false,"locked":false,"blockName":"Spacer copy copy copy"}
Step 3: Roll Over Your Shoulder. As you make contact with the ground, aim to land on the meaty part of your shoulder and upper back, not your wrist, elbow, or head. Use your momentum to roll diagonally across your back to the opposite hip.
{"height":15,"color":{"hue":213,"brightness":0.83,"saturation":1,"alpha":0},"hidden":false,"locked":false,"blockName":"Spacer copy copy copy copy"}
Step 4: Absorb and Spread. Keep your limbs bent and in. Slap the ground with your forearm and open hand as you roll to help dissipate energy and control the roll.
{"height":15,"color":{"hue":213,"brightness":0.83,"saturation":1,"alpha":0},"hidden":false,"locked":false,"blockName":"Spacer copy copy copy copy copy"}
2. The Sideways Slide (For Low-Speed Side Falls)
{"height":15,"color":{"hue":213,"brightness":0.83,"saturation":1,"alpha":0},"hidden":false,"locked":false,"blockName":"Spacer copy copy copy copy copy copy"}
Common in low-speed slips on gravel, ice, or during a turn.
{"height":15,"color":{"hue":213,"brightness":0.83,"saturation":1,"alpha":0},"hidden":false,"locked":false,"blockName":"Spacer copy copy copy copy copy copy copy"}
Step 1: Bend and Hug. If tipping sideways, bend your arm and tuck it in. Hug yourself if possible.
{"height":15,"color":{"hue":213,"brightness":0.83,"saturation":1,"alpha":0},"hidden":false,"locked":false,"blockName":"Spacer copy copy copy copy copy copy copy copy"}
Step 2: Aim for Flesh. Try to land on the fleshy part of your buttock and thigh, followed by your upper back and shoulder.
{"height":15,"color":{"hue":213,"brightness":0.83,"saturation":1,"alpha":0},"hidden":false,"locked":false,"blockName":"Spacer copy copy copy copy copy copy copy copy copy"}
Step 3: Slide, Don't Stick. Keep your body loose and let yourself slide along the ground. Road rash, while painful, is far preferable to a broken bone. Wearing long sleeves and pants provides a sacrificial layer for this slide.
{"height":15,"color":{"hue":213,"brightness":0.83,"saturation":1,"alpha":0},"hidden":false,"locked":false,"blockName":"Spacer copy copy copy copy copy copy copy copy copy copy"}
3. The Controlled Bail (When You Have a Split-Second Warning)
{"height":15,"color":{"hue":213,"brightness":0.83,"saturation":1,"alpha":0},"hidden":false,"locked":false,"blockName":"Spacer copy copy copy copy copy copy copy copy copy copy copy"}
If you see an unavoidable obstacle and have a moment to react, you can sometimes choose your exit.
{"height":15,"color":{"hue":213,"brightness":0.83,"saturation":1,"alpha":0},"hidden":false,"locked":false,"blockName":"Spacer copy copy copy copy copy copy copy copy copy copy copy copy"}
Step 1: Dismount Away from Danger. Aim to jump or step off the bike away from the point of collision (e.g., off to the side of an oncoming car's path).
{"height":15,"color":{"hue":213,"brightness":0.83,"saturation":1,"alpha":0},"hidden":false,"locked":false,"blockName":"Spacer copy copy copy copy copy copy copy copy copy copy copy copy copy"}
Step 2: Run It Out. If possible, try to land on your feet and continue in a running or stumbling motion to dissipate speed. If you can't stay upright, transition immediately into a tuck and roll.
{"height":15,"color":{"hue":213,"brightness":0.83,"saturation":1,"alpha":0},"hidden":false,"locked":false,"blockName":"Spacer copy copy copy copy copy copy copy copy copy copy copy copy copy copy"}
{"height":15,"color":{"hue":213,"brightness":0.83,"saturation":1,"alpha":0},"hidden":false,"locked":false,"blockName":"Spacer"}
What to Do During the Crash Sequence
{"height":15,"color":{"hue":213,"brightness":0.83,"saturation":1,"alpha":0},"hidden":false,"locked":false,"blockName":"Spacer copy"}
1. Protect Your Head: This is non-negotiable. Your helmet is your last line of defense, but tucking your chin is your first.
{"height":15,"color":{"hue":213,"brightness":0.83,"saturation":1,"alpha":0},"hidden":false,"locked":false,"blockName":"Spacer copy copy"}
2. Stay Loose: Tense muscles break; relaxed ones absorb and transfer energy. Exhale sharply as you hit to prevent having the wind knocked out of you.
{"height":15,"color":{"hue":213,"brightness":0.83,"saturation":1,"alpha":0},"hidden":false,"locked":false,"blockName":"Spacer copy copy copy"}
3. Let Go of the Bike: Your bike is replaceable; your limbs are not. Don't get tangled in it.
{"height":15,"color":{"hue":213,"brightness":0.83,"saturation":1,"alpha":0},"hidden":false,"locked":false,"blockName":"Spacer copy copy copy copy"}
The Critical Post-Fall Checklist
{"height":15,"color":{"hue":213,"brightness":0.83,"saturation":1,"alpha":0},"hidden":false,"locked":false,"blockName":"Spacer copy copy copy copy copy"}
1. Don't Jump Up. Lie still for a moment and take a mental inventory. Wiggle your fingers and toes. Do you feel sharp pain anywhere? Assess before you move.
{"height":15,"color":{"hue":213,"brightness":0.83,"saturation":1,"alpha":0},"hidden":false,"locked":false,"blockName":"Spacer copy copy copy copy copy copy"}
2. Signal for Help. If you're in traffic and can move, try to get to safety. If you're seriously hurt, try to signal to others.
{"height":15,"color":{"hue":213,"brightness":0.83,"saturation":1,"alpha":0},"hidden":false,"locked":false,"blockName":"Spacer copy copy copy copy copy copy copy"}
3. Seek Medical Attention. Adrenaline is a powerful painkiller. You may not feel a serious injury until much later. Get checked after any significant impact.
{"height":15,"color":{"hue":213,"brightness":0.83,"saturation":1,"alpha":0},"hidden":false,"locked":false,"blockName":"Spacer copy copy copy copy copy copy copy copy"}
Conclusion: Safety is a Skill Set
{"height":15,"color":{"hue":213,"brightness":0.83,"saturation":1,"alpha":0},"hidden":false,"locked":false,"blockName":"Spacer copy copy copy copy copy copy copy copy copy"}
Ultimately, comprehensive cycling safety is a three-part system:
{"height":15,"color":{"hue":213,"brightness":0.83,"saturation":1,"alpha":0},"hidden":false,"locked":false,"blockName":"Spacer copy copy copy copy copy copy copy copy copy copy"}
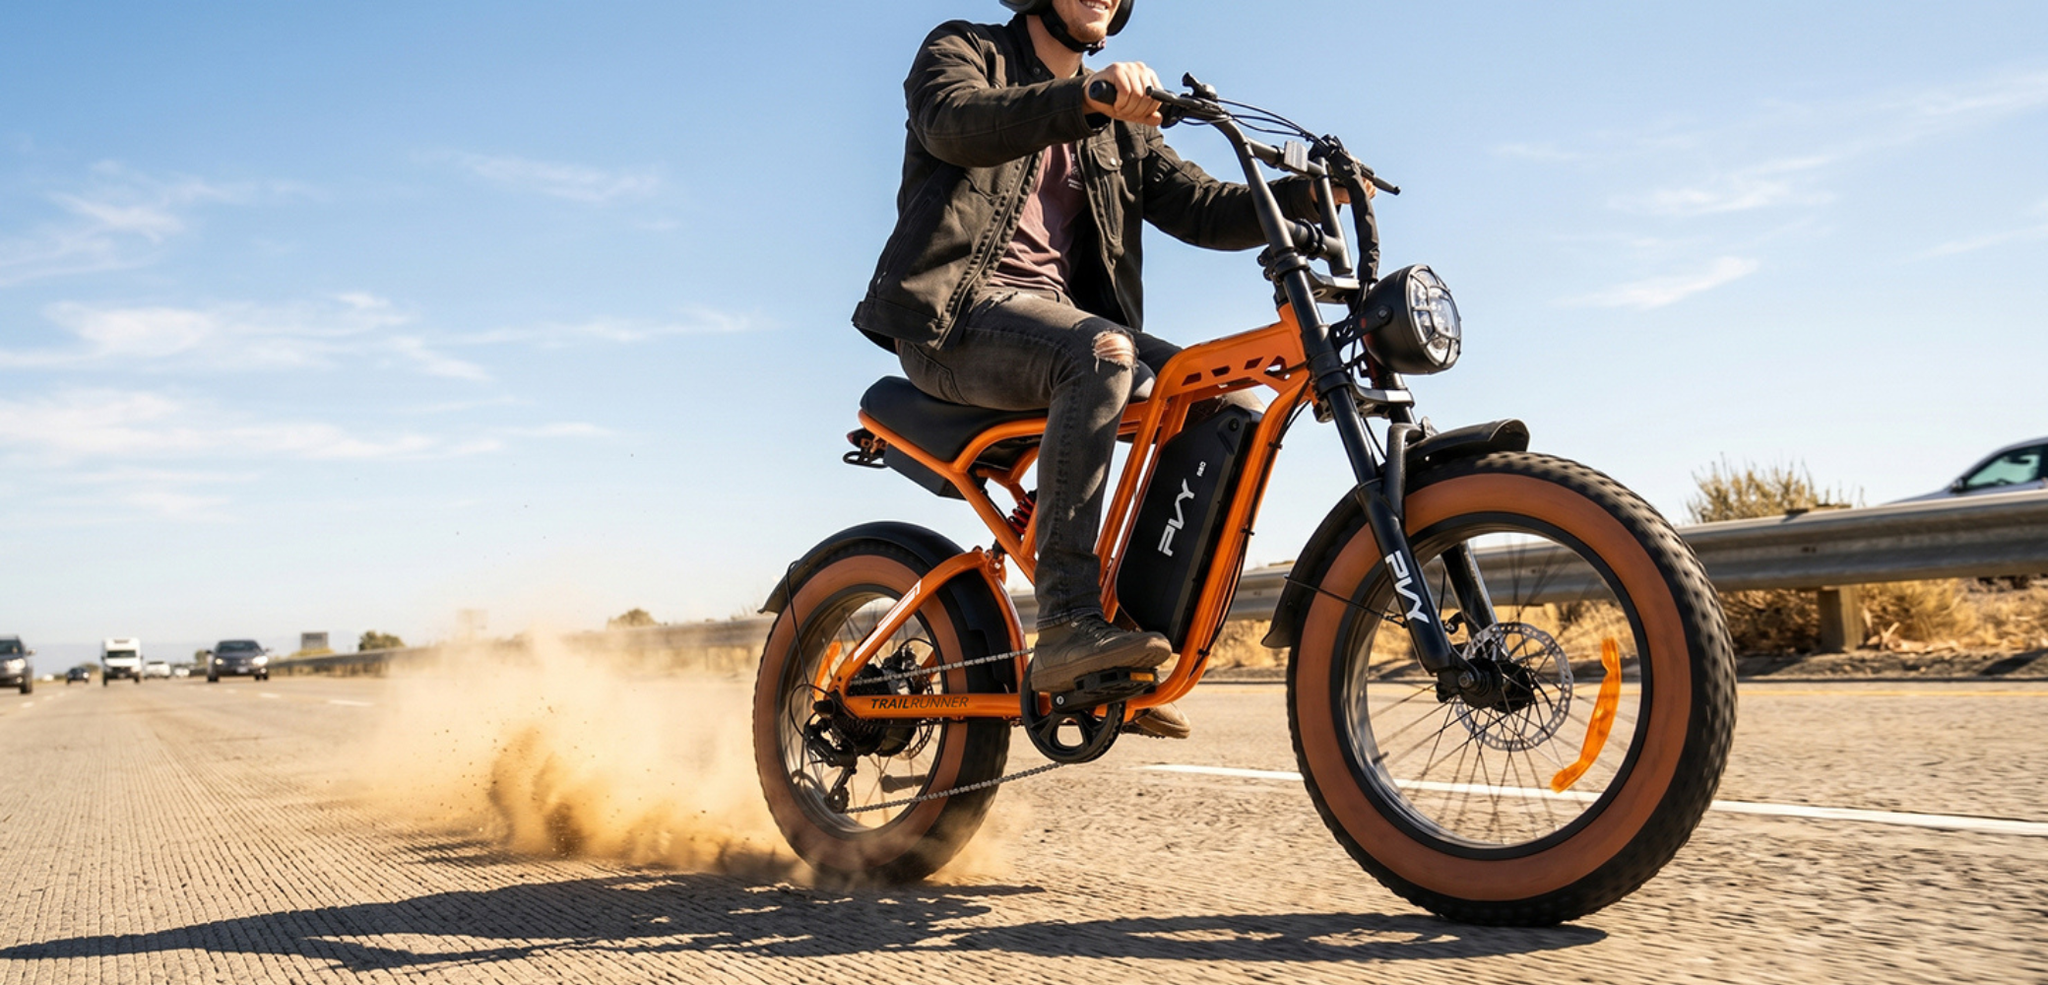
1. Avoidance: Riding defensively, maintaining your bike, and using lights.
{"height":15,"color":{"hue":213,"brightness":0.83,"saturation":1,"alpha":0},"hidden":false,"locked":false,"blockName":"Spacer copy copy copy copy copy copy copy copy copy copy copy"}
2. Protection: Wearing your helmet and appropriate gear.
{"height":15,"color":{"hue":213,"brightness":0.83,"saturation":1,"alpha":0},"hidden":false,"locked":false,"blockName":"Spacer copy copy copy copy copy copy copy copy copy copy copy copy"}
3. Reaction: Knowing how to fall and manage a crash.
{"height":15,"color":{"hue":213,"brightness":0.83,"saturation":1,"alpha":0},"hidden":false,"locked":false,"blockName":"Spacer copy copy copy copy copy copy copy copy copy copy copy copy copy"}
By practicing these falling techniques, you move safety from being purely external (your gear) to being internal (your skill). You empower yourself not just to avoid accidents, but to survive them with minimal harm. It’s the most important skill you hope you’ll never have to use, but one that could change everything if you do.